Key Takeaways
- Use 70% Isopropyl alcohol to kill bacteria without damaging electronics.
- Regular cleaning can extend the life of your joysticks by up to 40%.
- Never spray liquids directly onto the controller shell.
If you are reading this while holding a game controller, you might want to set it down for a moment—or at least grab a bottle of sanitizer. Recent studies have revealed a staggering "Filth Factor" in our gaming setups. Research by Betway indicates that the average gaming controller can harbor up to three times more bacteria than a toilet seat, clocking in at roughly 7,863 colony-forming units (CFUs) per 100cm².
Whether you are a casual weekend player or a competitive pro, knowing how to clean gaming controller hardware is no longer just about aesthetics; it is about hygiene and hardware longevity. Skin oils, dead skin cells, and snack dust don't just look gross—they are the primary culprits behind the dreaded "stick drift" and unresponsive buttons. In this guide, we will break down the best way clean gaming controller units at home using professional techniques that protect your sensitive electronics.
Why Your Controller Is a Bacterial Hotspot
Before we dive into the cleaning process, it is important to understand what we are up against. The most contaminated areas of any controller are the thumbsticks and the thin seams where the front and back plates of the shell meet. These areas act as "collection troughs" for sweat and oils.
Beyond the "ick" factor, these contaminants migrate inward. In standard potentiometer-based joysticks (found in most stock Xbox and PlayStation controllers), microscopic debris can settle on the internal sensors. According to the 2025 Hardware Maintenance Survey, regular external cleaning can extend the functional life of these joysticks by up to 40% by preventing this buildup.
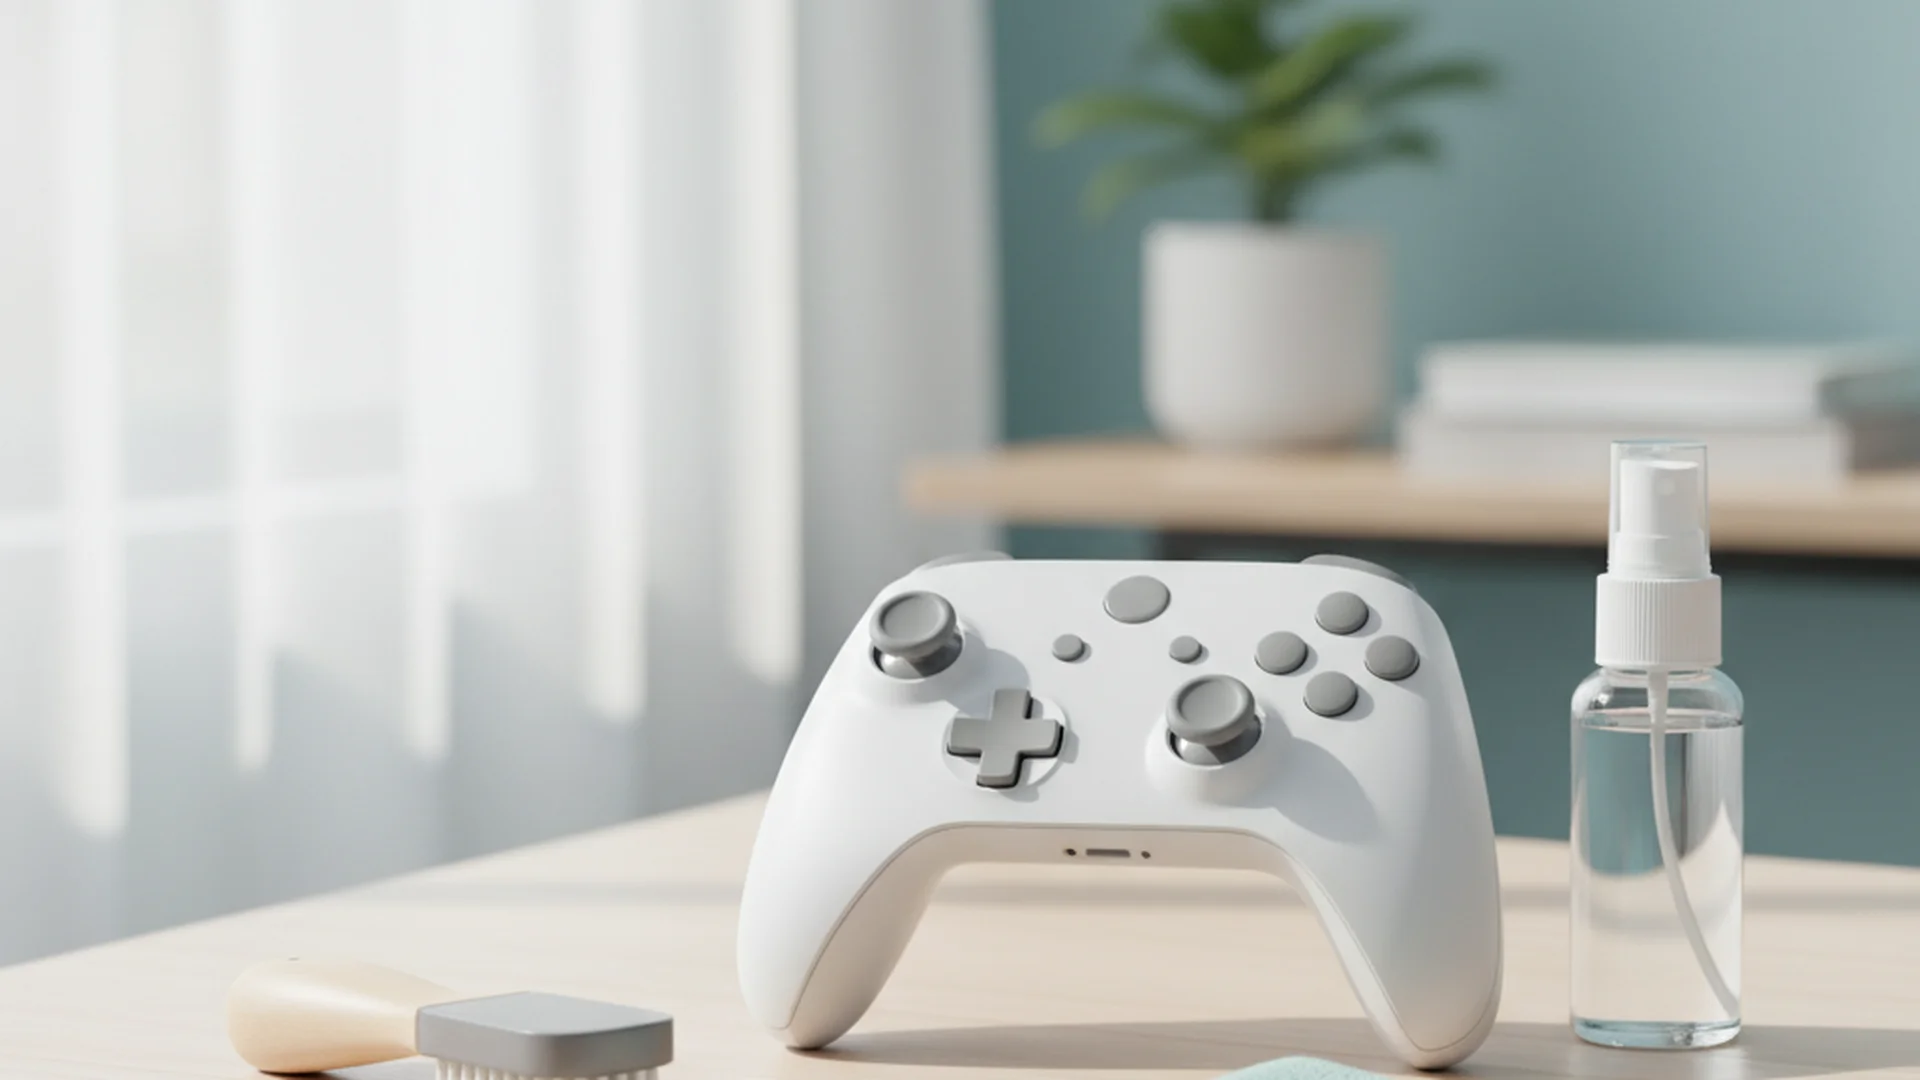
The Essential Cleaning Toolkit
To clean gaming controller at home effectively, you don't need expensive specialized kits. You likely have most of these items in your cabinet already.
- 70% Isopropyl Alcohol: This is the industry standard.
- Microfiber Cloths: Essential for a scratch-free finish.
- Cotton Swabs (Q-tips): For tight corners.
- Wooden Toothpicks: For detailing the seams.
- Compressed Air: For clearing out dust from the triggers and sticks.
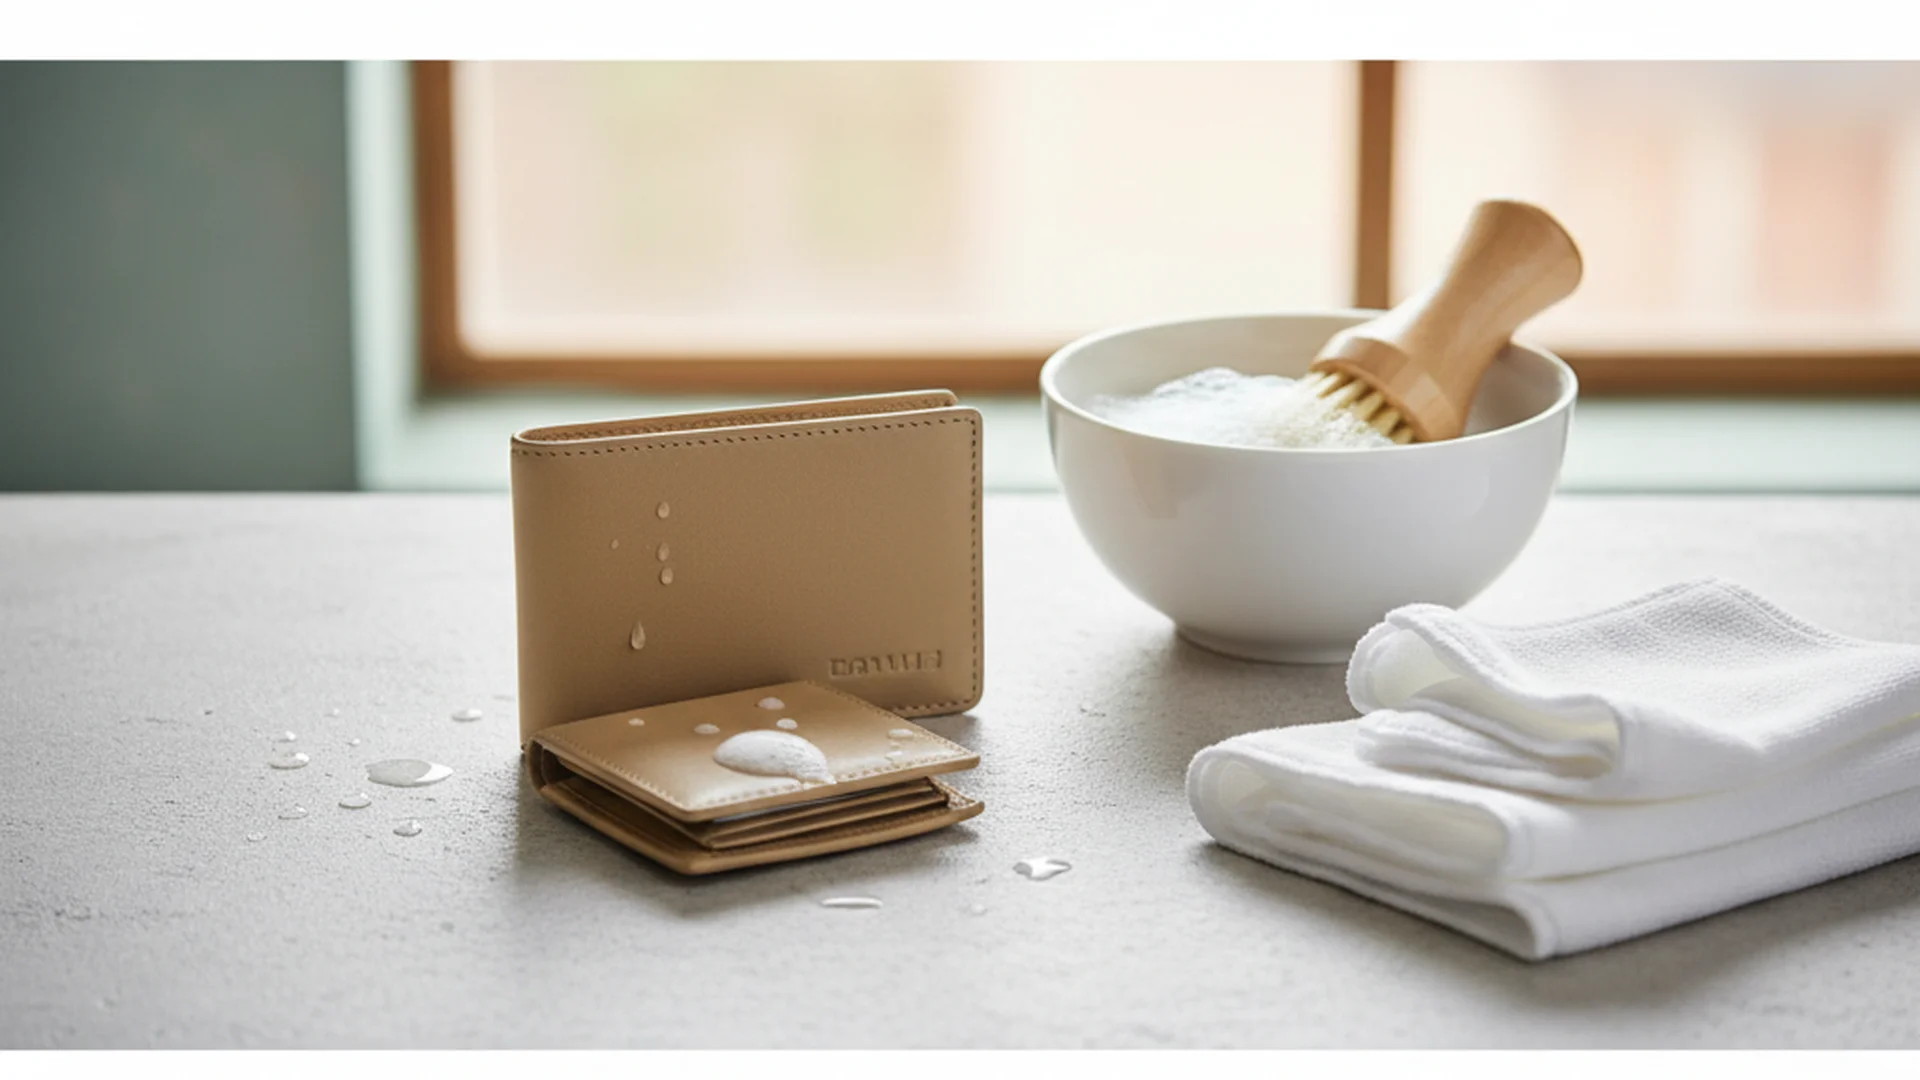
The Step-by-Step "Dry-Damp-Dry" Method
As a home organization expert, I always recommend the "Dry-Damp-Dry" method for electronics. This ensures you remove loose debris first, sanitize the surface second, and remove any moisture last.
Step 1: The Dry Loosening
Start by using a soft-bristled toothbrush (dry) to gently scrub the buttons and the circular base of the analog sticks. This loosens the "crust" of skin oils and dust that accumulates in the gaps.
Example: Imagine a parent cleaning a child's Nintendo Switch Joy-Con after a session of handheld gaming. The buttons often feel "crunchy." Using a dry brush first prevents that dust from turning into mud once you add liquid.
Step 2: Detailing the Seams
Take a wooden toothpick and slowly run it along the seam where the two halves of the controller shell meet. You will likely see a "string" of gray or black grime come out. This is a mix of dead skin and sweat.
Step 3: The Damp Sanitize
Lightly dampen (do not soak) a microfiber cloth with your 70% Isopropyl alcohol. Wipe down the entire surface of the controller. For the analog sticks and the areas around the "Action" buttons (X, Y, A, B), use a dampened cotton swab.
Example: A competitive gamer preparing for a tournament will often use this step to restore the "grip" to their controller. Removing the oily film significantly improves hand-to-controller friction.
Step 4: The Final Dry
Immediately follow up with a fresh, dry microfiber cloth. This prevents streaks and ensures that no alcohol seeps into the button membranes.
Advanced Maintenance for 2026 Hardware
As we move through 2026, controller technology is changing. Many "Pro" and third-party controllers now utilize Hall Effect joysticks. These use magnets rather than physical friction to track movement, making them immune to traditional wear-based stick drift.
However, these controllers have a new enemy: magnetic debris. If you work in an environment with metal filings or use certain types of magnetic charging cables, tiny metallic dust particles can interfere with the sensors. When cleaning these modern controllers, ensure you use compressed air to blow out the joystick housing to prevent magnetic interference.
| Controller Feature | Cleaning Focus | Recommended Tool |
|---|---|---|
| Touchpads (PS5) | Fingerprint Oils | Microfiber + 70% Alcohol |
| Hall Effect Sticks | Magnetic Debris | Compressed Air |
| Rubberized Grips | Deep Seated Sweat | Dampened Q-tip |
| USB-C Ports | Pocket Lint | Wooden Toothpick |
Common Mistakes to Avoid
Even with the best intentions, it is easy to damage a $70+ piece of hardware if you use the wrong techniques.
- Spraying Directly on the Device: This is the #1 cause of controller failure during cleaning. Liquid can easily seep through the gaps of the D-pad or triggers and short-circuit the motherboard. Always spray the cloth, then wipe.
- Using Bleach or Vinegar: Bleach is far too corrosive and will strip the "soft-touch" coating off of Xbox Elite or DualSense Edge controllers. Vinegar, while a great home cleaner, is an acid that can degrade the rubber membranes under your buttons.
- Using Paper Towels: On glossy surfaces or the touchpads of modern controllers, paper towels act like fine-grit sandpaper, leaving micro-scratches that dull the finish over time.
- Neglecting the Charging Port: Many people assume their battery is dying when the controller won't charge. In reality, it's often just lint. Example: A gamer who keeps their controller in a drawer may find it won't connect. Using a non-conductive toothpick to gently clear the USB-C port often "fixes" the controller instantly.
Frequently Asked Questions
Can I use baby wipes to clean my controller?
How often should I clean my controller?
Is it safe to use compressed air on the joysticks?
Will cleaning my controller void the warranty?
Conclusion
Cleaning your gear is about more than just a shiny appearance—it’s about protecting your investment and your health. By using the "Dry-Damp-Dry" method and sticking to 70% Isopropyl alcohol, you can ensure your controller remains responsive and germ-free for years to come.
**CTA: Ready to Start? | Clean your gaming setup today and feel the difference in your next match. | View More Cleaning Guides | /category/how-to-clean