Key Takeaways
- Follow a top-to-bottom workflow to avoid re-contaminating surfaces.
- Prioritize 'dwell time' for disinfectants to ensure 99.9% germ elimination.
- Incorporate 2026 trends like probiotic cleaners for long-term protection.
In 2026, we view our homes more than just shelters; they are sanctuaries for health and wellness. However, no room challenges that sense of sanctuary quite like the bathroom. While most of us manage a quick wipe-down once a week, a true deep clean bathroom session is essential for eliminating the microbial hotspots that daily cleaning misses. According to the American Cleaning Institute (2025), over 60% of people report a significant mood boost after a deep clean, yet many are still missing the hidden areas where bacteria truly thrive.
This guide isn't just about making things "look" shiny. It is a data-driven, step-by-step approach to sanitizing your space using the latest 2026 technology and professional techniques. Whether you are dealing with stubborn grout mold or modern smart-toilet maintenance, this comprehensive guide will transform your bathroom into a hygienic retreat.
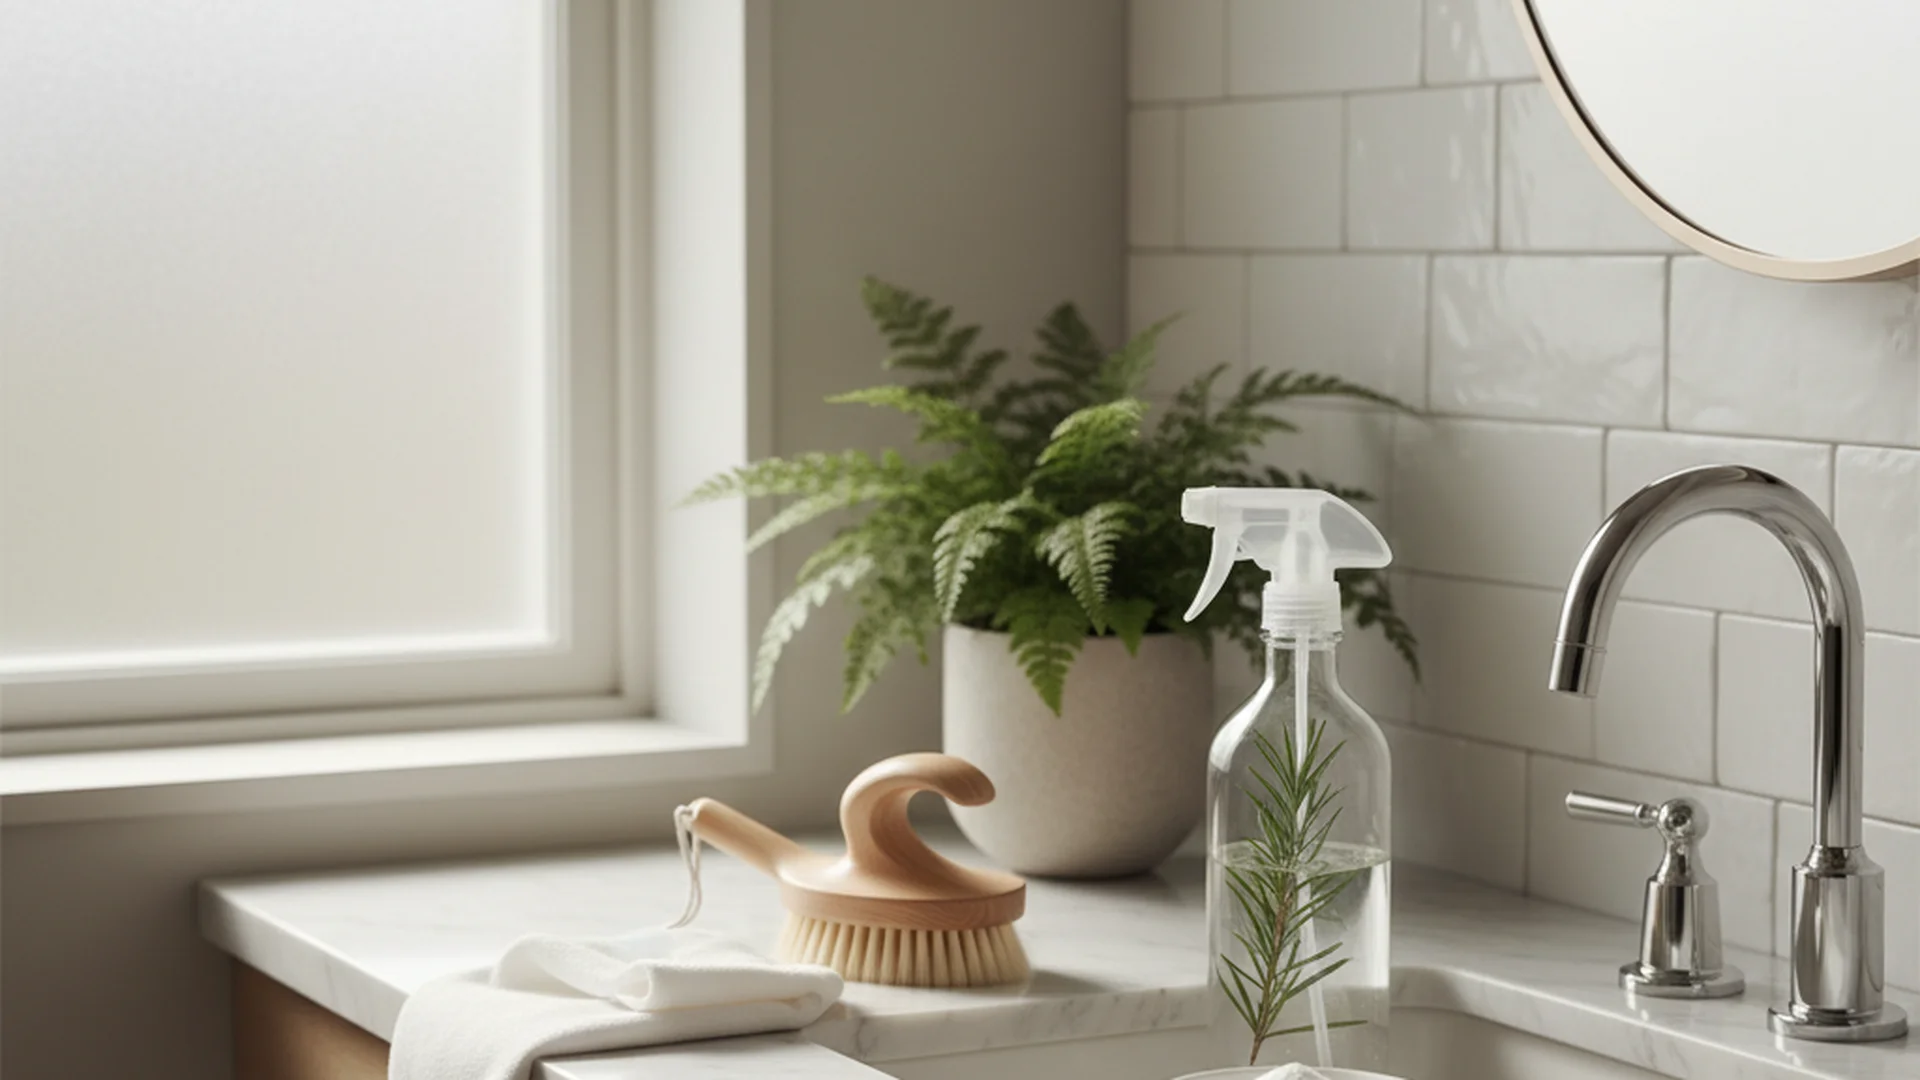
The 2026 Cleaning Arsenal: Tools and Tech
Before you scrub your first tile, you need the right tools. Professional cleaning has shifted away from harsh, abrasive chemicals toward more intelligent, "bio-active" solutions.
The Shift to Probiotic Cleaners
The biggest trend in 2026 is the "Microbiome Shift." Rather than trying to kill every single microbe on a surface (which often leads to resistant "superbugs"), we now use probiotic cleaners. These solutions apply beneficial bacteria to your surfaces. These "good" microbes continue to consume organic matter—like skin cells and soap scum—for up to 72 hours after you finish cleaning.
Essential Equipment Checklist
To follow this guide effectively, gather these items:
- Color-Coded Microfiber Cloths: Use Blue for glass, Pink for sinks, and Red for the toilet area to prevent cross-contamination.
- Handheld Steam Cleaner: The gold standard for 2026. It kills 99.9% of bacteria and viruses using only pressurized water.
- HEPA-Filter Vacuum: Crucial for the "Dry Dust" phase.
- Oxygenated Bleach: A safer, non-corrosive alternative to traditional chlorine bleach for grout.
- Long-Handled Scrub Brush: To save your back while cleaning the tub and shower walls.
Preparation: The "Dry Dust" Rule
One of the most common mistakes people make when they deep clean bathroom surfaces is reaching for the spray bottle too early. If you spray a dusty baseboard or a hair-covered floor with liquid, you create "wet lint"—a thick, gray sludge that is incredibly difficult to remove.
Step 1: Declutter and Clear
Remove everything. Clear the counters, take the bottles out of the shower, and move the rugs and trash cans to another room. This allows you to see the "invisible" dirt in the corners.
Step 2: The High-Level Dust
Start at the ceiling. Use a long-handled duster or a vacuum attachment to clear spiderwebs from corners and dust from the exhaust fan cover.
Step 3: Vacuuming the Dry Surfaces
Vacuum the baseboards, the top of the medicine cabinet, and the floor. Pay special attention to the area behind the toilet. By removing the hair and dust while they are dry, the subsequent wet-cleaning phase will be significantly faster.
The Professional Top-to-Bottom Workflow
Professional cleaners always work from the top of the room to the bottom. This ensures that any dust or cleaning solution that drips downward is caught during the final stages of the process.
Phase 1: Vents and Light Fixtures
After dusting the exhaust fan, remove the cover if possible and soak it in warm, soapy water. While it soaks, wipe down light fixtures and vanity mirrors using your blue microfiber cloth and a streak-free glass cleaner.
Phase 2: The Shower and Bathtub
This is where "Dwell Time" becomes your best friend. In 2026, we prioritize efficiency over elbow grease.
- Apply Cleaner: Spray your shower walls and tub with an enzyme-based or probiotic cleaner.
- Let it Sit: Allow the product to sit for at least 5–10 minutes. This is the "dwell time" required for disinfectants to actually break down mineral deposits and kill pathogens.
- Steam the Grout: While the cleaner works, use your handheld steamer on the grout lines. The heat lifts deep-seated stains that brushes can't reach.
- Scrub and Rinse: Use your long-handled brush to lightly scrub the surfaces, then rinse with warm water.
Phase 3: The Vanity and Sink
The sink is often filthier than the toilet. Because we wash our hands here, the basin becomes a collection point for E. coli and Staph.
- The Faucet: Use a soft-bristled brush (an old toothbrush works great) to clean around the base of the faucet and the aerator.
- The Drain: Pour half a cup of baking soda followed by half a cup of white vinegar down the drain to deodorize and clear minor hair clogs.
- The Toothbrush Holder: Don't forget this! It is statistically one of the top five filthiest items in a home. Run it through the dishwasher or soak it in a sanitizing solution.
| Surface | Recommended Cleaner | Tool |
|---|---|---|
| Mirror | Glass Cleaner | Blue Microfiber |
| Grout | Oxygenated Bleach | Steam Cleaner |
| Sink | Probiotic Spray | Pink Microfiber |
| Toilet | Disinfectant Gel | Toilet Brush |
Deep Cleaning the Toilet: The 2026 Method
The toilet requires more than just a quick swish of the brush. For a true deep clean, you must address the "Hidden Five" areas that most people overlook.
- The Tank: Open the tank and check for mineral buildup. Drop in a non-corrosive cleaning tablet if necessary.
- The Base and Bolts: The plastic caps at the base of the toilet are prime spots for urine-scale and dust collection.
- The Hinge: Use your steamer or a disinfectant spray to clean the hinges of the toilet seat—a major source of lingering odors.
- The Handle: Since this is touched before hands are washed, it needs a high-level disinfectant.
- The Drip Dry: This is a crucial hygiene step.
Maintaining Smart Bathroom Tech
By 2026, many homes feature smart tech like UV-C sanitizing lights and self-cleaning toilets.
- UV-C Lights: Gently wipe the bulbs with a dry microfiber cloth when they are powered off. Dust can reduce the effectiveness of the germicidal ultraviolet rays.
- Smart Toilets: If your toilet uses electrolyzed water (eWater+), ensure the filtration system is checked according to the manufacturer’s guidelines. These systems reduce the need for harsh chemicals, but they still require manual cleaning of the exterior sensors and seat.
Common Mistakes to Avoid
Even seasoned cleaners can fall into traps that make the bathroom less hygienic or even dangerous.
The "Toxic Cocktail"
Mixing cleaning products is the most dangerous mistake you can make. In a quest to get things "extra clean," some people mix bleach with other agents.
- Bleach + Vinegar = Chlorine Gas: This can cause immediate respiratory distress.
- Bleach + Ammonia = Chloramine: This can be lethal in unventilated spaces.
- Vinegar + Hydrogen Peroxide = Peracetic Acid: This is highly corrosive and can damage bathroom fixtures and skin.
Over-Scrubbing Porcelain
Using abrasive green scouring pads on porcelain tubs or toilets creates micro-scratches. While the surface looks clean initially, those scratches will trap dirt and bacteria, making the fixture get dirty much faster in the future. Always use non-abrasive pastes or soft cloths.
Forgetting the Shower Curtain
Your shower curtain liner is a magnet for soap scum and mildew. Most people scrub it by hand, but the 2026 pro tip is to toss it in the washing machine with two towels on a cold, gentle cycle. The towels act as "scrubbers" in the wash to remove the film.
Frequently Asked Questions
How often should I deep clean my bathroom?
Is vinegar or probiotic cleaner better for grout?
How do I get rid of the "bathroom smell" that won't go away?
Do I really need a steam cleaner?
Conclusion: The 30-Second Maintenance Habit
A deep clean is a "reset" for your home, but the key to making it last is daily maintenance. The most effective habit you can adopt in 2026 is the Daily Squeegee. By taking 30 seconds to squeegee the glass and tiles after every shower, you remove the moisture that mold needs to grow. This simple act can extend the life of your deep clean by several weeks.
Deep cleaning your bathroom is more than a chore; it is an investment in your physical and mental health. By following this bathroom deep cleaning checklist, you ensure that your space remains a high-performance, hygienic environment for years to come.