Key Takeaways
- Deep cleaning can reduce energy costs by up to 40% through better airflow and insulation.
- Always use an N95 mask and HEPA vacuum to protect against fiberglass and allergens.
- The "Stack Effect" means attic air directly impacts the air you breathe downstairs.
For many homeowners, the attic is a "out of sight, out of mind" zone—a dark corner of the house reserved for holiday decorations, old yearbooks, and half-forgotten furniture. However, neglecting this space is a missed opportunity for home health and efficiency. Learning how to deep clean attic spaces is one of the most impactful home maintenance tasks you can undertake. Beyond just removing dust, a thorough attic cleaning improves your home’s indoor air quality, bolsters your insulation's effectiveness, and prevents costly structural damage from pests or mold.
In this comprehensive guide, we will walk through the essential steps to reclaim your attic, from the initial safety preparations to the high-tech trends shaping attic maintenance in 2025 and 2026.
Why You Should Deep Clean Your Attic Now
Before we dive into the "how," it is important to understand the "why." Your attic acts as the "lungs" of your home. Due to a phenomenon known as the stack effect, hot air rises and escapes through the top of your house, while cooler air is pulled in from below. If your attic is filled with dust, rodent droppings, or mold spores, those contaminants can be pulled down into your living spaces every time the pressure shifts.
Furthermore, a clean attic is an efficient attic. Research shows that a well-maintained and properly insulated attic can reduce annual energy costs by 10% to 40%. Even a simple decluttering and dusting can improve airflow enough to lower your monthly utility bills by up to 15%.
Step 1: Safety and Preparation
Cleaning an attic is not like cleaning a living room. You are dealing with confined spaces, potential biohazards, and fiberglass insulation. Safety must be your absolute priority.
Essential Personal Protective Equipment (PPE)
Before you even open the attic hatch, ensure you have the following:
- N95 or P100 Respirator: Crucial for filtering out fine dust and fiberglass fibers.
- Safety Goggles: Protect your eyes from falling debris when cleaning rafters.
- Disposable Coveralls or Long Sleeves: To prevent "insulation itch" caused by fiberglass.
- Work Gloves: Thick gloves to protect against splinters or sharp roofing nails.
- High-Output Lighting: Attics are notoriously dark. Use a headlamp or portable LED work lights to see into every corner.
Equipment Check
You cannot use a standard household vacuum for a deep clean attic project. Standard vacuums often lack the filtration necessary to trap microscopic attic dust and will simply blow those particles back into your breathing zone.
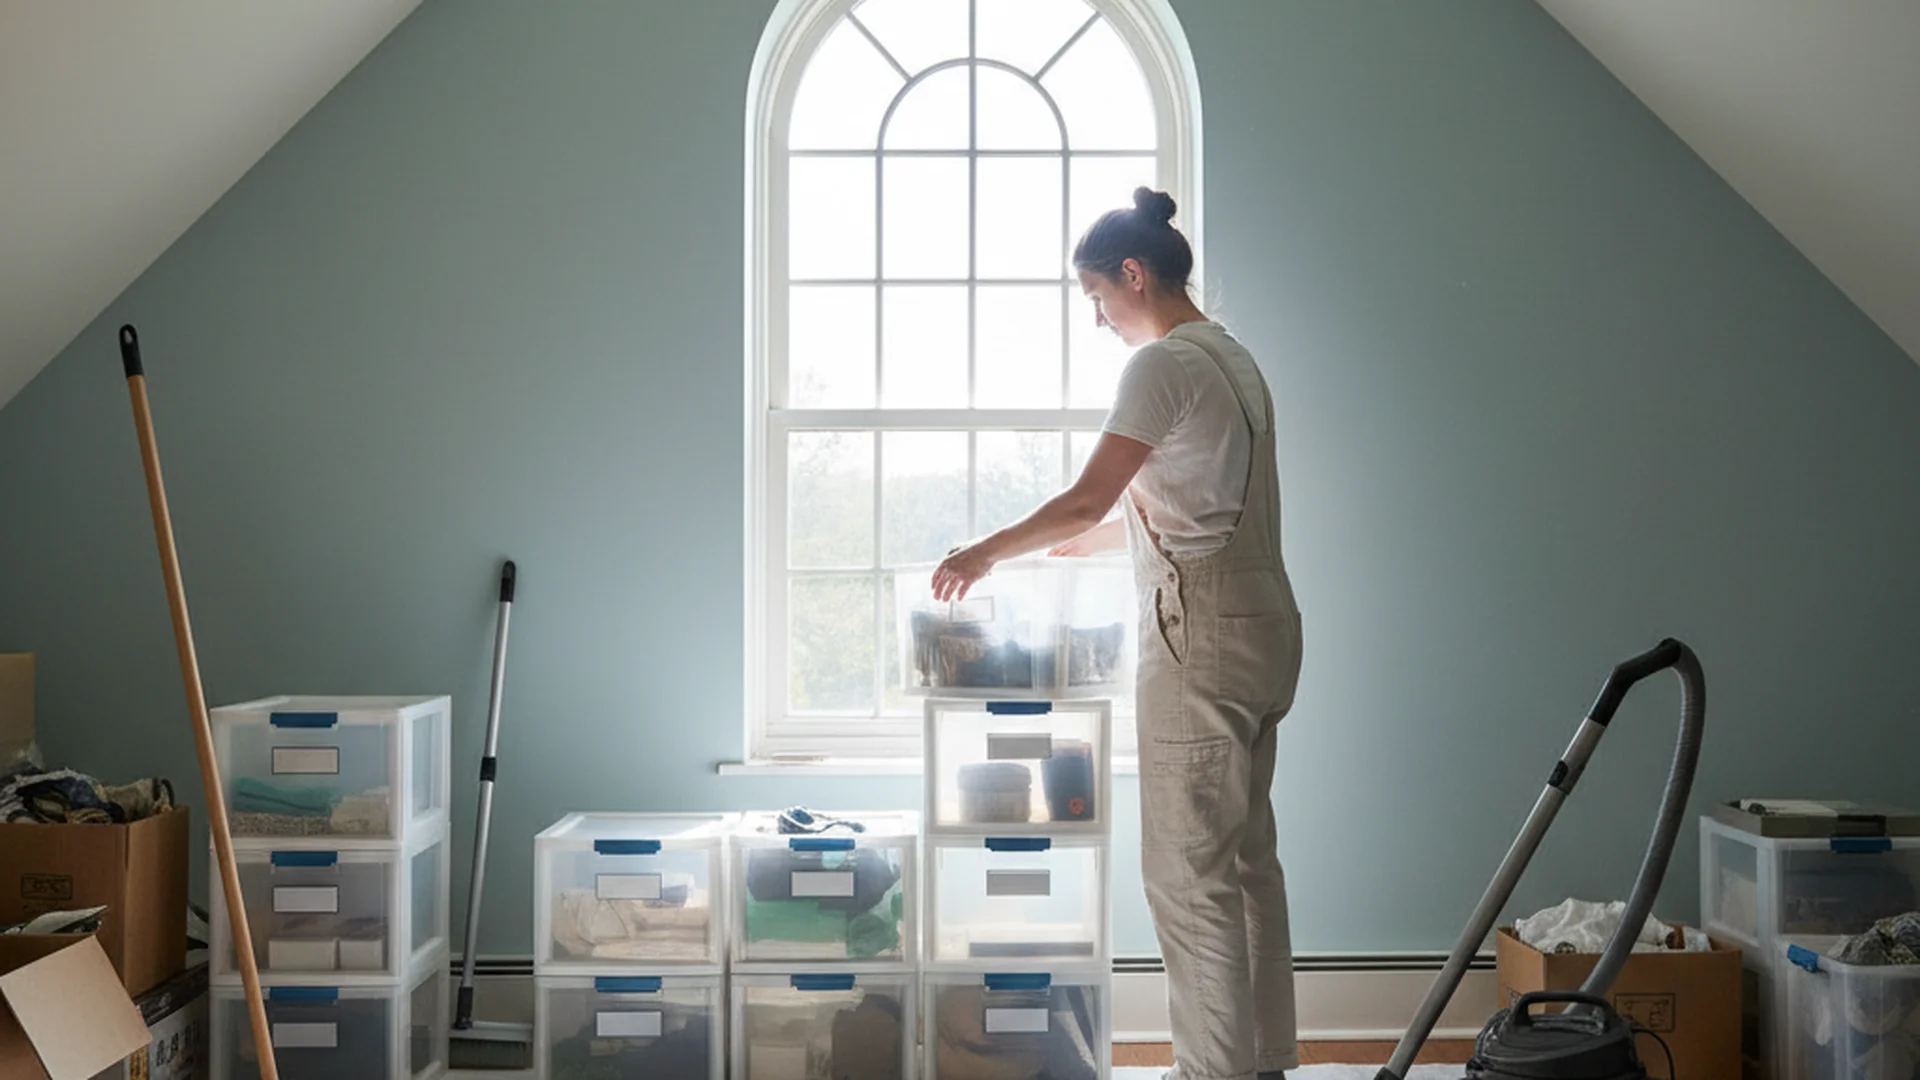
Step 2: The "Sort & Stage" Decluttering Method
You cannot deep clean a space that is packed with boxes. The first true step of your attic deep cleaning checklist is to empty the space. However, don't just move items from the attic to the hallway—use the "Sort & Stage" strategy.
Create four distinct zones in a garage or driveway:
- Keep: Items that are essential and in good condition.
- Donate: Items that are no longer needed but are still functional.
- Recycle: Old electronics, papers, or metals.
- Trash: Damaged items, broken furniture, or items contaminated by pests.
Real-World Example: The "Junk-Tech" Revolution
In 2025, many homeowners are using "junk-tech" apps to streamline this process. Instead of hauling everything to a landfill, Sarah, a homeowner in Oregon, used a circular economy app to photograph her attic finds. Within two hours, a local collector picked up her old vintage luggage and broken electronics for recycling, reducing her "Trash" pile by 60% and keeping those items out of the local landfill.
Step 3: Top-Down Cleaning and Dusting
Once the attic is empty, it's time to get dirty. Always follow the "Top-Down" method. If you clean the floor first and then the rafters, the dust from the rafters will simply settle on your clean floor.
- Dust the Rafters and Beams: Use a long-handled duster or a brush attachment on your HEPA vacuum to clear cobwebs and thick dust from the roof underside and support beams.
- Clean the Walls: If you have a finished attic, wipe down the walls with a microfiber cloth.
- Vacuum the Floor and Joists: Move slowly. Use the crevice tool to get into the gaps between floorboards or the edges where the roof meets the floor.
Step 4: The Deep Inspection
With the dust gone, you can finally see the "bones" of your attic. This is the most critical part of the deep clean. Use your high-output light to look for:
- Daylight Peeking Through: If you see light where the roof meets the walls, you have gaps that are letting out conditioned air and letting in pests.
- Water Stains: Look for dark spots on the wood rafters or "crusty" patches on insulation. This indicates a roof leak.
- Pest Tunnels: Look for "tracks" or compressed tunnels in the insulation, which are tell-tale signs of rodents.
The Problem with Air Leaks
While cleaning, you should seal any air leaks you find. Use fire-rated spray foam or caulk around pipes, chimneys, and electrical wires.
Step 5: Sanitization and Odor Removal
Once the physical debris is removed, you need to neutralize any remaining bacteria or odors. This is especially important if you found signs of mice or squirrels.
| Cleaning Agent | Best For | Pros/Cons |
|---|---|---|
| Distilled White Vinegar | Minor mold/mildew | Natural, but has a strong scent. |
| Specialized Antimicrobial | Heavy mold spores | Professional grade; very effective. |
| Probiotic Cleaners | Organic odors | New for 2026; "eats" allergens over time. |
The "Bleach Myth"
A common mistake homeowners make is using bleach to kill attic mold on wood beams. Bleach is mostly water; while it kills surface mold, the water can actually penetrate the porous wood and feed the mold roots, causing it to return stronger. Use vinegar or a dedicated wood-safe fungicide instead.
Step 6: Insulation Maintenance and Upgrades
After cleaning and sanitizing, evaluate your insulation. Does it look compressed? If you can see the floor joists, your insulation is likely too thin.
Emerging Trends for 2025-2026
We are seeing a massive shift toward eco-friendly, non-toxic insulation materials.
- Recycled Denim: Made from post-consumer blue jeans, this is a favorite for DIYers because it doesn't itch.
- Mushroom-Based (Mycelium): An emerging biodegradable option that is naturally fire-resistant.
- Smart Sensors: Consider installing IoT humidity and temperature sensors. These 2025-era devices link to your smartphone and will alert you the moment a leak occurs or if the attic gets too hot, preventing mold before it starts.
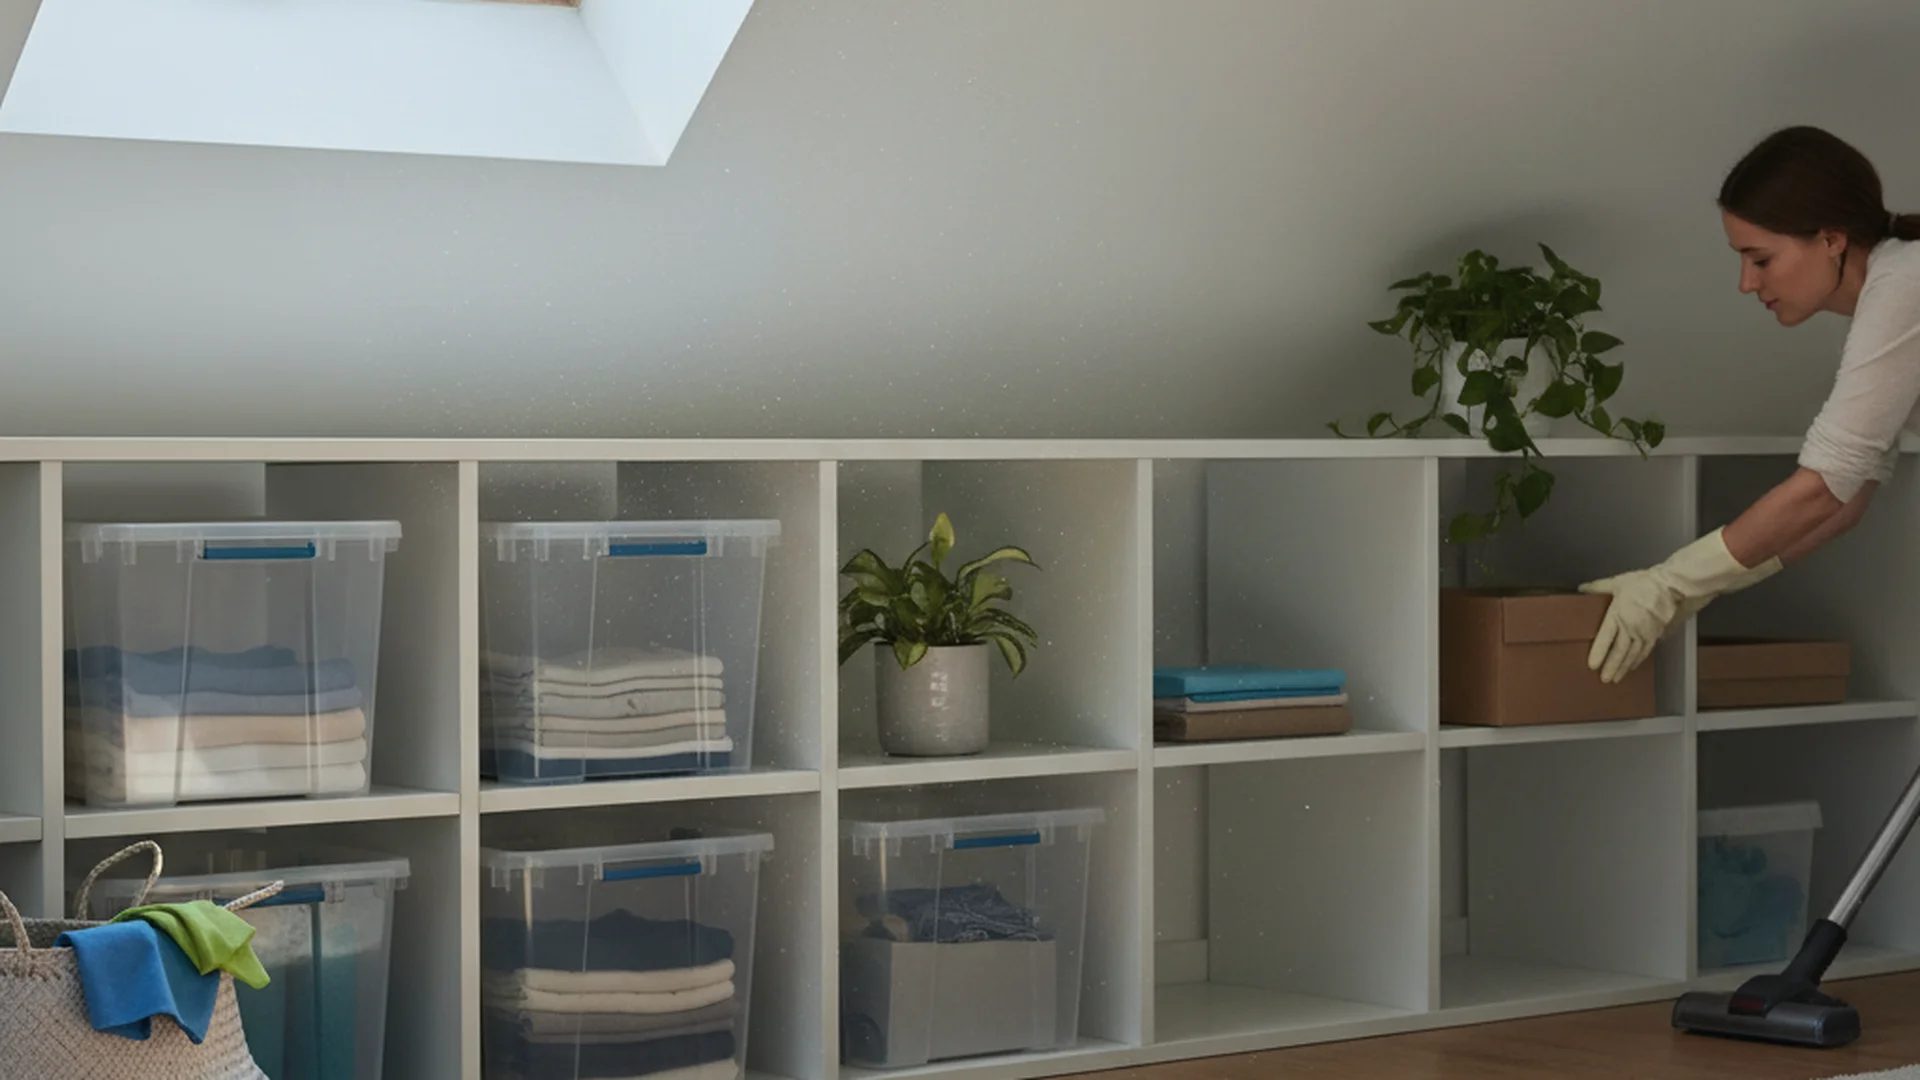
Step 7: Organizing for the Future
As you bring your "Keep" items back into the attic, do so with a plan.
- Airtight Plastic Bins: Never use cardboard boxes. Cardboard attracts silverfish and provides nesting material for mice. Clear plastic bins allow you to see the contents without opening them.
- Labeling: Use a label maker or permanent marker to clearly identify every bin.
- Maintain Airflow: Do not stack boxes against the eaves. This can block your soffit vents, which are essential for preventing moisture buildup.
Common Mistakes to Avoid
- Compressing the Insulation: Never walk directly on fiberglass batts or store heavy boxes on top of them. This crushes the air pockets that provide the "R-value" (insulating power), making your insulation nearly useless.
- Ignoring the "Root Cause": If you find mold, don't just clean it. Check the roof for leaks or ensure your bathroom exhaust fan isn't venting directly into the attic.
- Venting Fans into the Attic: This is a classic construction error. Kitchen and bathroom fans must vent all the way to the outside. If they dump moist air into the attic, you will have a mold problem within weeks.
- Skipping PPE: The "itch" from fiberglass can last for days, and the respiratory impact of breathing in 20-year-old dust is significant. Never skip the mask.
Real-World Example: The "Stack Effect" Discovery
The Thompson family in Ohio noticed their children had persistent evening coughs. During a deep clean attic session, they discovered that an old bathroom vent had come loose, pumping humid air into the attic and causing a hidden mold bloom. Because of the stack effect, those mold spores were being pulled down into the bedrooms every night. After fixing the vent and cleaning the attic, the children’s respiratory issues cleared up within a week.
Frequently Asked Questions
How often should I deep clean my attic?
Can I DIY mold removal in the attic?
How long does it take to deep clean an attic?
Should I replace my insulation during a deep clean?
Conclusion
Deep cleaning your attic is more than just a weekend chore; it is a vital step in maintaining a healthy, energy-efficient home. By following this attic deep cleaning checklist, you protect your family from allergens, lower your monthly bills, and extend the life of your home’s structure. Whether you are installing the latest 2026 probiotic cleaning technology or simply clearing out decades of old boxes, the effort you put into your attic today will pay dividends for years to come.
Ready to Start?
Download our full attic maintenance and organization checklist today.
Get the Checklist