Key Takeaways
- Always use grease-cutting dish soap for oily residues.
- Never use abrasive pads or sharp tools to avoid micro-tears.
- Air-drying is essential to prevent lint and fiber contamination.
Whether you are a professional resin artist, a weekend baker, or a DIY candle maker, your silicone molds are the backbone of your creative process. However, if you’ve ever pulled a mold out of the cupboard only to find it covered in a mysterious sticky film or smelling like last month’s garlic muffins, you know that maintenance can be tricky. Knowing how to clean silicone molds properly is the secret to ensuring your projects have a professional, mirror-like finish every single time.
In this guide, we will dive deep into the science of silicone, explore the most effective cleaning methods for 2026, and reveal the industry secrets that will help your molds last for hundreds of uses.
Understanding the Material: Why Silicone Gets Sticky
Before we grab the soap, it’s important to understand what we are working with. Silicone is a non-porous, synthetic polymer. While it is hydrophobic (it repels water), it is unfortunately lipophilic, meaning it loves to attract and hold onto oils.
This is why molds used for baking or wax often feel "sticky" even after a trip through the dishwasher. The oils from butter, vegetable sprays, or fragrance oils cling to the surface at a molecular level. Furthermore, silicone molecules actually expand when heated. This expansion can trap food odors or microscopic resin particles inside the material itself, leading to ghosting or lingering smells.
The Best Way to Clean Silicone Molds: A Step-by-Step Guide
For general maintenance, the "Double Wash" method is considered the gold standard by professionals. This approach ensures that both surface debris and deep-seated oils are removed.
Step 1: The Preliminary Wipe
Before introducing water, use a dry paper towel to wipe away any loose debris, excess oil, or liquid resin. If you are working with wax, wait for it to cool slightly so it is "slushy" but not rock hard, then wipe it out.
Step 2: The Hot Soap Soak
Submerge your molds in a basin of very hot (but not boiling) water mixed with a high-quality grease-cutting dish soap. Brands like Dawn Platinum are frequently cited by experts as the best way clean silicone molds because they break down the lipophilic bond between the oil and the silicone.
Step 3: Gentle Agitation
Use your fingers or a very soft microfiber cloth to rub the surfaces. Avoid the temptation to use a sponge with a scouring side.
Step 4: The Air-Dry Rule
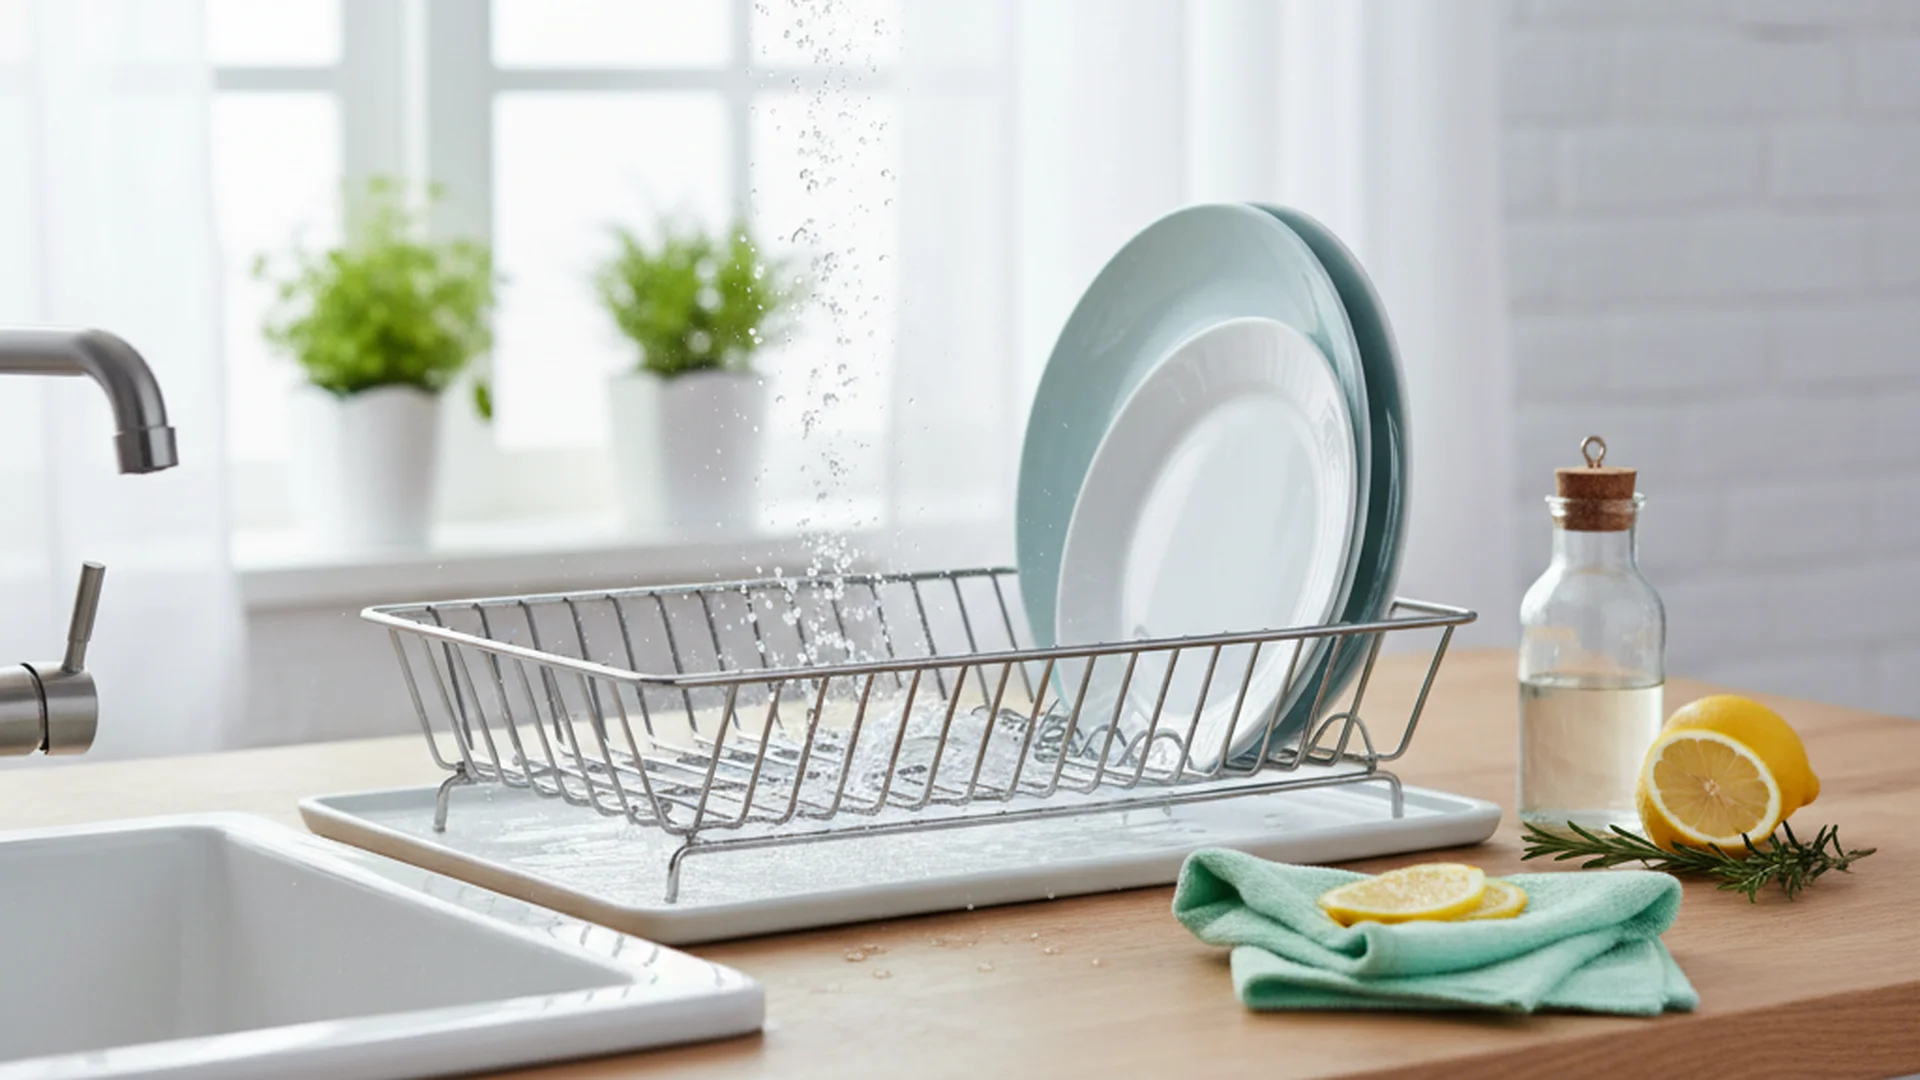
This is the most overlooked step. Never use a cloth or paper towel to dry the inside of a mold. Even the cleanest towel will leave behind tiny fibers and lint. Instead, invert the molds on a clean drying rack and let them air-dry completely.
Specialty Cleaning: Resin, Wax, and Chocolate
Different materials require different cleaning strategies. Here is how to handle the "Big Three" of molding materials:
| Material | Primary Cleaning Agent | Expert Technique |
|---|---|---|
| Resin | 91% Isopropyl Alcohol | The Tape Trick |
| Wax | Boiling Water (Soak) | Double Wash |
| Baking | Baking Soda Paste | Deep Bake |
Example 1: The Resin Artist’s Dilemma
Imagine you’ve just finished a complex 3D resin pour involving heavy glitter. Even after the piece is cured and removed, tiny specks of glitter and cured "flash" remain in the corners. Using a toothpick could tear the mold. The Solution: Use high-tack packing tape. Press the tape into the dry mold and lift. The tape will grab every microscopic speck of glitter and cured resin without harming the silicone surface.
Example 2: The "Ghost" of Onions Past
You used your favorite silicone tray to make savory egg bites, and now, despite washing it, the mold smells like onions. You want to make chocolate truffles next. The Solution: The "Deep Bake." Place the clean, empty mold in the oven at 350°F for 20 minutes. This causes the silicone pores to expand, releasing the trapped odor molecules. Follow this with a baking soda soak to neutralize the scent.
Example 3: Stubborn Candle Wax
Cleaning candle molds can be a nightmare because wax hardens in intricate crevices. The Solution: Use a hair dryer on a low setting to melt the residue, wipe with a paper towel, and then use an enzyme-based cleaner to strip the remaining fragrance oils.
2026 Trends in Silicone Maintenance
As the DIY market has expanded, so have the tools available for maintenance.
Ultrasonic Cleaners
In 2025, small-scale ultrasonic cleaners became a staple for serious crafters. These devices use high-frequency sound waves to create cavitation bubbles in a cleaning solution. This vibrates residue out of deep, intricate 3D designs that are impossible to reach by hand.
Anti-Static Sprays and Conditioners
One of the newest products on the market in 2026 is the anti-static silicone conditioner. After cleaning and drying your mold, a light mist of this spray prevents the silicone from acting like a "dust magnet," which is a common frustration when storing molds in hobby rooms.
Common Mistakes to Avoid
Even seasoned crafters make mistakes that can shorten the lifespan of their molds. Avoid these five common pitfalls:
- Using Sharp Tools: Never use needles, tweezers, or knives to pick out stuck bits. A "micro-tear" in silicone will eventually expand under the pressure of your next pour, ruining the mold entirely.
- Using Bleach: Bleach is too aggressive for silicone. It can degrade the chemical bonds of the polymer, causing the mold to become brittle and prone to cracking.
- Over-using Mold Release: While mold release is helpful, using too much causes "pitting" and buildup in the corners. Use it sparingly.
- Stacking Molds for Storage: Silicone is flexible and has a "memory." If you store a heavy mold on top of a smaller one, the bottom mold may become permanently deformed.
- Boiling Water for Low-Grade Molds: While high-quality silicone can handle it, cheaper "tin-cure" silicones can become brittle if exposed to boiling water repeatedly.
Frequently Asked Questions
Can I put silicone molds in the dishwasher?
How do I remove the white powdery spots on my molds?
Is it safe to use rubbing alcohol on my molds?
Why did my mold turn cloudy after cleaning?
Storage Secrets for Long-Lasting Molds
Once your molds are clean and dry, storage is the final step in the maintenance cycle.
- Store Flat: Always store molds on a flat surface to maintain their shape.
- Dust Protection: Store molds in a lidded plastic bin or individual Ziploc bags. This prevents dust and pet hair from settling on the surface.
- Cool, Dark Place: UV light can eventually degrade silicone, so keep your storage bins away from direct sunlight.
Ready to Start?
Keep your creative projects flawless with a professional cleaning kit.
Shop Cleaning SuppliesBy following these expert-backed steps, you’ll ensure that your silicone molds remain a reliable part of your toolkit for years to come. Remember: a clean mold isn't just about hygiene—it’s about the quality of your craft.