In this article
What you’ll learn
- Deep clean drawers at least twice a year to eliminate hidden pathogens like Salmonella.
- Always vacuum debris before applying liquid cleaners to avoid creating a muddy mess.
- Use material-specific cleaners, particularly for wooden drawers, to prevent warping.
We spend a significant amount of time scrubbing our countertops and mopping our floors, but the spaces where we store our most essential tools—our kitchen drawers—are often the most neglected. Learning how to clean kitchen drawers is not just about organizing your spatulas; it is a critical step in maintaining home hygiene. Kitchen storage areas can be breeding grounds for pathogens like Salmonella and E. coli. When you consider that crumbs and moisture often hide in dark corners, it is easy to see how these spaces can quickly become unsanitary.
Whether you are dealing with a sticky "junk drawer" or a crumb-filled utensil tray, finding the best way clean kitchen drawers ensures your cooking environment remains safe and your hardware lasts longer. In this guide, we will walk through a professional 5-step method, explore the latest 2025–2026 trends in wellness-focused organization, and help you avoid common mistakes that could damage your cabinetry.
Why Kitchen Drawer Hygiene Matters
Foodborne illness is far more common than most of us assume. While we often blame undercooked meat, cross-contamination frequently starts in "hidden" areas. A damp kitchen sponge is one of the most bacteria-laden objects in the house, and wiping a drawer with it simply relocates that load. When we move these bacteria into our drawers, we risk contaminating the very forks and knives we put into our mouths.
Regularly cleaning these spaces prevents the buildup of grease, which can attract pests and contribute to mold growth. Beyond health, a clean drawer system reduces daily stress, fitting perfectly into the "Wellness Kitchen" movement that is dominating home design trends in 2026.
The Professional 5-Step Cleaning Method
To achieve a truly deep clean, professional cleaners recommend a "deep pull" method. This ensures no corner is left untouched and no pathogen is left behind.
Step 1: The Total Empty
You cannot effectively clean a drawer that is half-full. Remove every single item. This is the perfect time to declutter.
Tip: As you empty the drawer, group like-items together on your counter. This makes the restocking phase much faster and allows you to see exactly how much space you really have.
Step 2: Vacuum First, Wipe Second
One of the biggest mistakes people make is jumping straight to a wet cloth. If your drawer is full of crumbs, spice dust, or hair, a wet cloth will simply turn that debris into a "muddy" paste that gets pushed into the 90-degree seams. Instead, use a vacuum with a crevice tool attachment to suck up all loose debris.
Step 3: Material-Specific Cleaning
Different drawer materials require different care. Using the wrong chemical can strip finishes or cause permanent damage.
| Material | Recommended Cleaner | Drying Method |
|---|---|---|
| Natural Wood | pH-neutral soap & damp cloth | Wipe dry immediately |
| Laminate/Plastic | All-purpose spray or vinegar solution | Air dry |
| Stainless Steel | Specialized steel cleaner | Microfiber buff |
Step 4: Maintenance of the Hardware
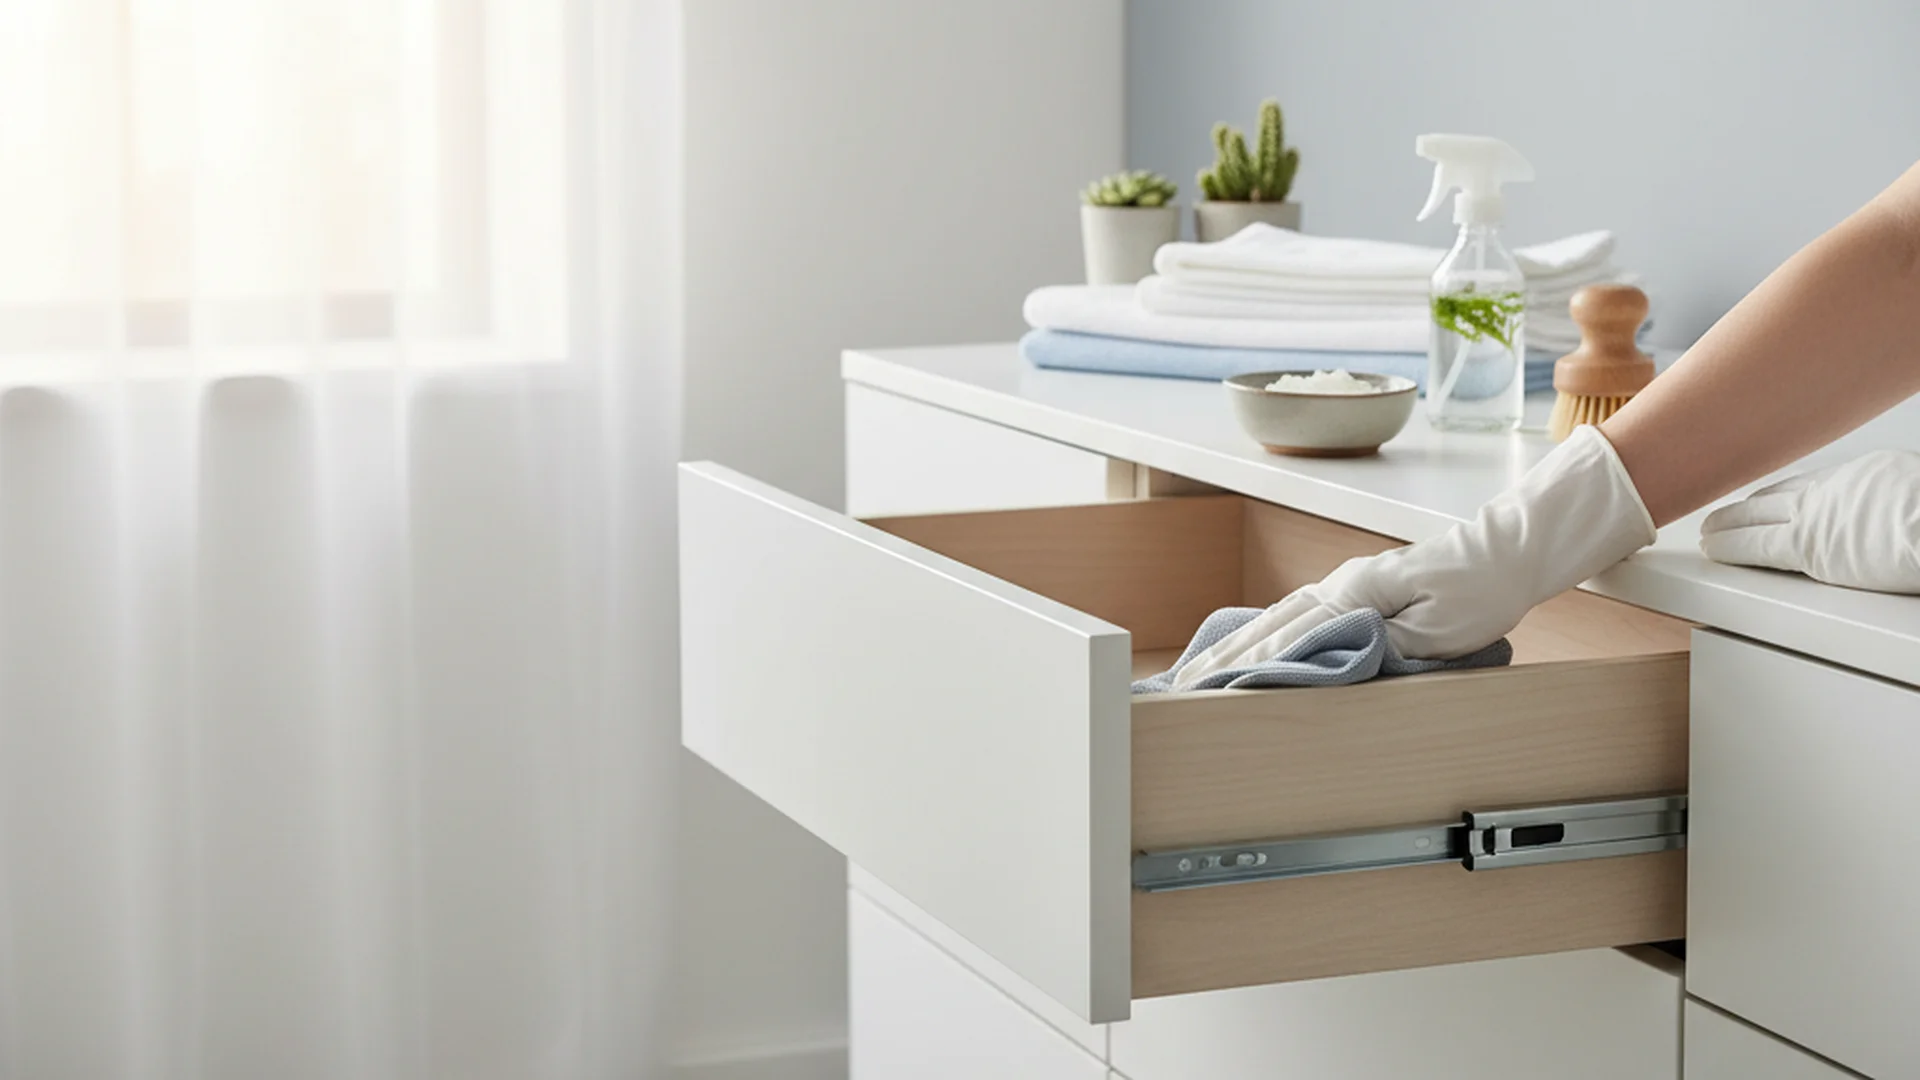
We often focus on the box and forget the mechanics. Wipe down the drawer slides and tracks. If you notice the drawer is sticking or making noise, this is the time to apply a small amount of silicone lubricant.
Step 5: The "Dry-Down" Phase
Never restock a drawer while it is still damp. Even a tiny amount of trapped moisture can lead to musty odors or the growth of mildew. Let the drawer air out for at least 30 minutes before replacing your items.
Success: A perfectly dry, vacuumed drawer is the best foundation for a long-lasting, organized kitchen system.
Cleaning Different Types of Drawers: Real-World Examples
The best way clean kitchen drawers depends largely on what you keep inside them. Here are three common scenarios and how to handle them:
Example 1: The "Junk Drawer" Residue
We all have one—the drawer filled with batteries, tape, and loose pens. Often, these drawers develop a "sticky" floor due to leaking adhesives or old batteries.
- The Fix: Use a 1:1 solution of white vinegar and water to cut through the stickiness. For stubborn residue, a plastic scraper or an old credit card can gently lift the gunk without scratching the surface.
Example 2: The Spice Drawer "Dust"
If you store spices in a drawer, you likely have a fine layer of turmeric, cinnamon, or chili powder in the corners.
- The Fix: Vacuuming is essential here. Afterward, use an old toothbrush dipped in a mild soapy solution to scrub the 90-degree corners where the fine powder "cakes" on.
Example 3: The Utensil Tray Overhaul
Utensil trays (especially those for silverware) are high-touch areas.
- The Fix: If the tray is plastic or metal, the most hygienic route is to run it through a dishwasher cycle. If you use a bamboo or wooden organizer, hand-wash it with mild soap, dry it immediately, and consider applying a food-safe mineral oil once a year to keep the wood from cracking.
2025–2026 Trends: Wellness and Sustainability
In 2026, the focus has shifted toward "Wellness Kitchens." This means your drawers should not only be clean but should also support a healthy lifestyle.
- Sustainable Materials: Modern homes are ditching plastic "contact paper" and adhesive liners. Instead, we are seeing a rise in reusable silicone liners and bamboo dividers. These are not only better for the environment but are also easier to remove and sanitize.
- Microplastic-Free Tools: When cleaning, the trend is to move away from traditional yellow-and-green sponges. Cellulose or agave-fiber scrubbers are a good swap, since they keep microplastics out of the water system.
- Lifestyle Zoning: A popular trend is the "Wellness/Vitamin Drawer." By dedicating a specific, clean space for supplements and health tools, you reduce daily friction and keep these items away from heat-producing appliances like the stove.
- Integrated Tech: Many homeowners are now installing motion-activated LED drawer lights. Not only does this look high-end, but it also makes it much easier to spot crumbs or spills before they become a major problem.
Note: Integrating magnetic strips inside drawers for metal spice tins or knives is a 2026 favorite for keeping the "floor" of the drawer clear and easy to wipe.
Common Mistakes to Avoid
- Drenching the Wood: Wood is porous. Using a soaking-wet cloth can cause the wood to swell, warp, or even rot at the joints. Always use a "barely damp" cloth.
- Mixing Chemicals: Never mix vinegar (an acid) with bleach (a base). This can create toxic chlorine gas. If one cleaner doesn't work, rinse the area thoroughly with water before trying another.
- Ignoring the Handles: The drawer pulls are the most handled part of your kitchen. They harbor more bacteria than the inside of the drawer. Use a disinfectant wipe on these daily.
- Skipping the Pre-Dust: If you don't vacuum first, you are essentially "mopping" dust, which creates a larger mess.
- Using Bleach on Finishes: Bleach is too harsh for most cabinet finishes and can cause yellowing or stripping of the protective topcoat.
Warning: Excessive moisture is the enemy of cabinetry. Always ensure your "wipe-down" is followed by a "dry-down" with a clean microfiber cloth.
Frequently Asked Questions
How often should I clean my kitchen drawers?
What is the best way to clean sticky residue in drawers?
Can I use bleach on wooden drawers?
How do I prevent that "musty" smell?
Conclusion
Mastering how to clean kitchen drawers is a fundamental skill for any organized home. By following the professional 5-step method—emptying, vacuuming, cleaning by material, checking hardware, and drying—you ensure a space that is as hygienic as it is beautiful. As we move into 2026, embracing sustainable materials and wellness-focused layouts can turn a simple chore into a lifestyle upgrade.
Success: By dedicating just an hour or two twice a year to your drawers, you significantly reduce the risk of foodborne illness and prolong the life of your kitchen cabinetry.
Cleaning that keeps score
Every task earns points, every streak multiplies them, and Premium adds a household leaderboard plus a monthly Dustagorgon to beat.
- Free forever
- 30 badges to earn
- Up to 6 in a household
No card needed. Set up your rooms in a couple of minutes.