Key Takeaways
- Always use the "Dry-to-Wet" method to avoid creating a muddy mess.
- Probiotic and enzyme-based cleaners are the top 2025-2026 trends for long-term grease management.
- Kitchen ceilings should be cleaned every 3 to 6 months to reduce fire risks and improve air quality.
Look up. When was the last time you truly examined your kitchen ceiling? While we meticulously scrub our countertops and mop our floors, the surface directly above our heads is often the most neglected area of the home. However, learning how to clean kitchen ceiling surfaces is about more than just aesthetics; it is a critical component of home safety and air quality.
In a high-use kitchen, airborne grease, steam, and soot rise and become trapped on the ceiling. Over time, this creates a sticky film that attracts dust and allergens. According to the National Fire Protection Association (NFPA), nearly 50% of structure fires in eating establishments begin in the kitchen, often fueled by accumulated grease. By mastering the best way clean kitchen ceiling grime, you aren't just tidying up—you’re protecting your home and improving your indoor air quality by up to 30%.
The Science of Kitchen Grime: Why Ceilings Get So Dirty
Before we dive into the "how," it is important to understand the "why." Kitchens are unique environments where "thermal plumes"—columns of hot air—carry microscopic droplets of vaporized fat and oils upward. As this air hits the cooler surface of the ceiling, the grease solidifies.
In 2025, we are seeing a shift in the type of grime found in modern homes. With the rise of induction cooktops, the "heavy grease" common with gas ranges is being replaced by "light dust" and moisture. However, for those still using gas or frequent frying techniques, the buildup remains a significant challenge.
The Step-by-Step "Pro" Method: From Dry to Wet
Domestic efficiency experts recommend a specific sequence to ensure you aren't just moving dirt around. This is known as the "Dry-to-Wet" method.
Step 1: Dry Dusting and Preparation
Never start with a wet cloth. If you apply liquid to a dusty ceiling, you create "mud," which is significantly harder to remove and can stain porous plaster.
- Clear the Area: Move any small appliances or fruit bowls.
- Protect the Floor: Lay down a plastic tarp. Kitchen grease is notoriously difficult to remove from floor grout if it drips.
- Vacuum: Use a vacuum with a HEPA filter and a soft brush attachment to remove cobwebs and loose particles.
Step 2: Spot Treating Stubborn Stains
Before cleaning the whole surface, look for yellowed patches or "hot spots" usually located directly above the stove.
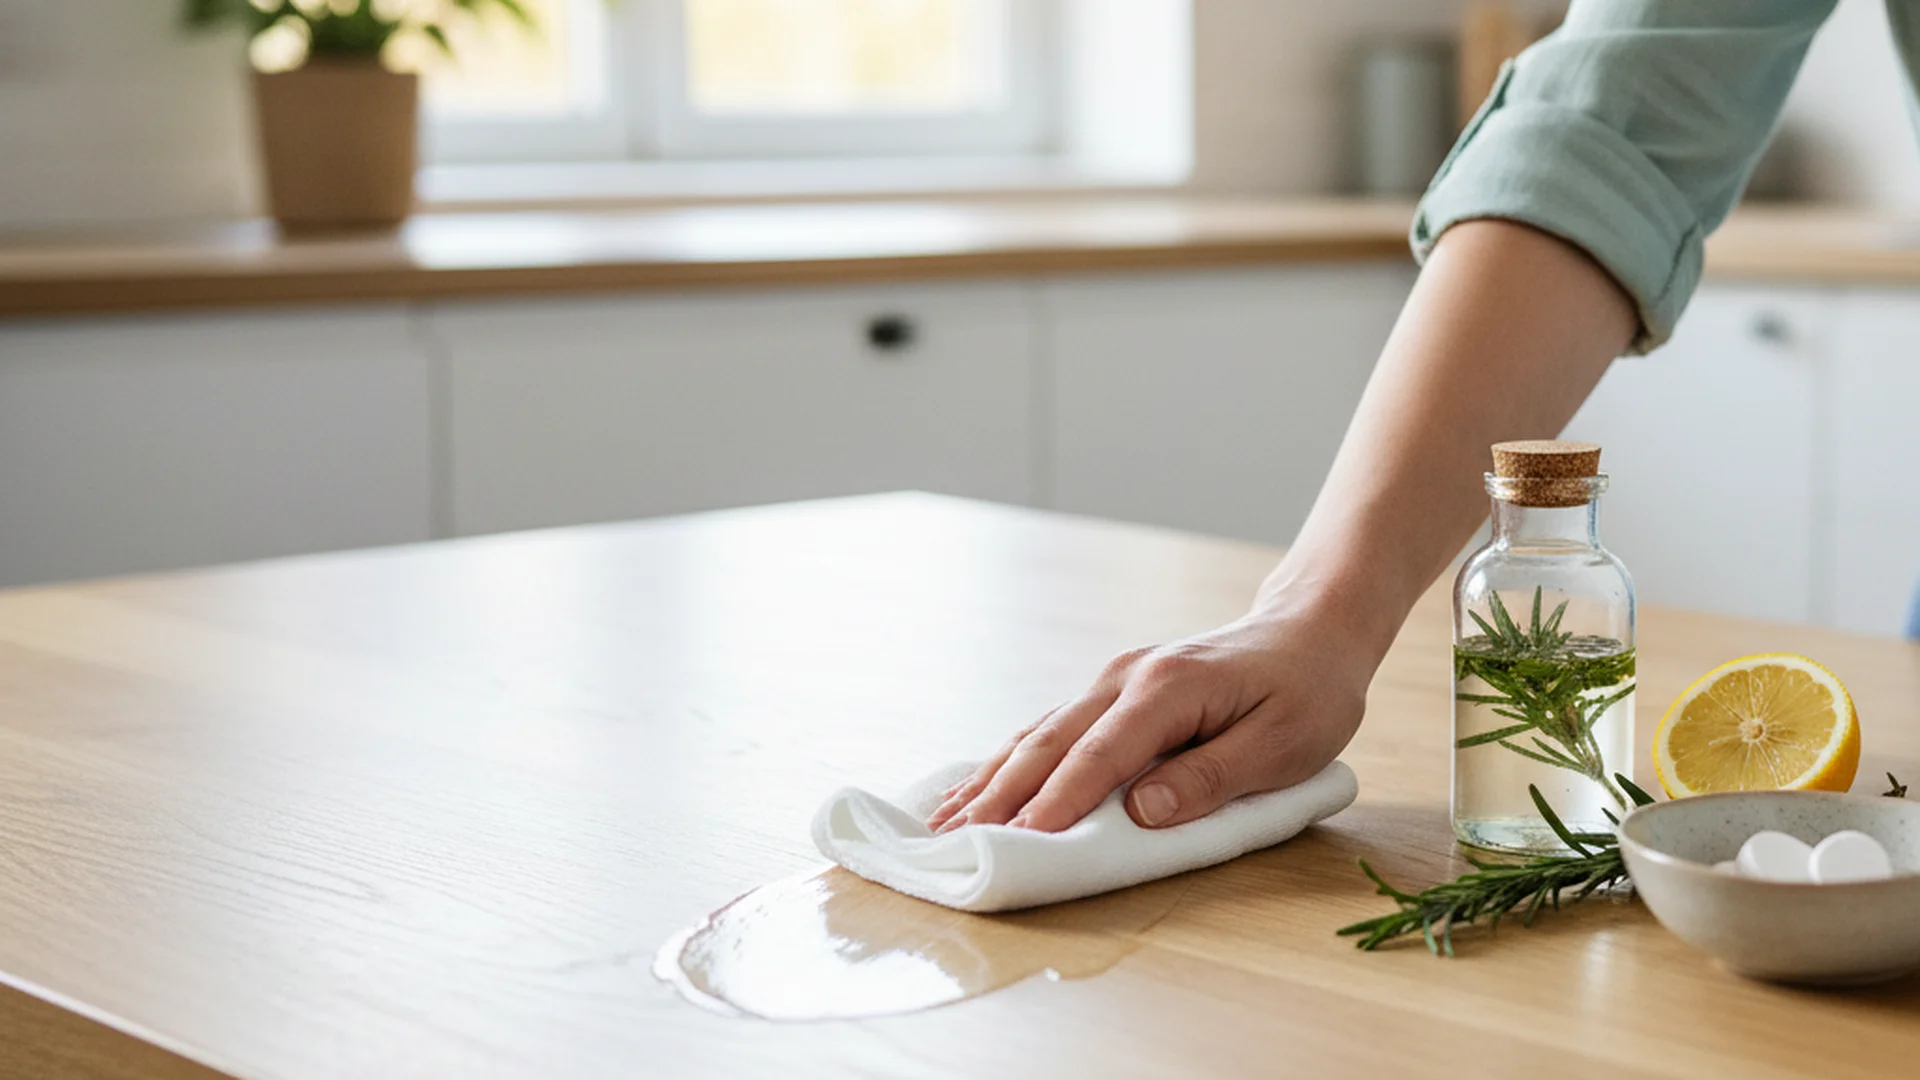
- The Baking Soda Trick: Mix 2 parts baking soda with 1 part water to create a paste. Apply it to the stain, let it sit for 5 minutes, and dab it away with a damp microfiber cloth.
Step 3: Sectional Wiping
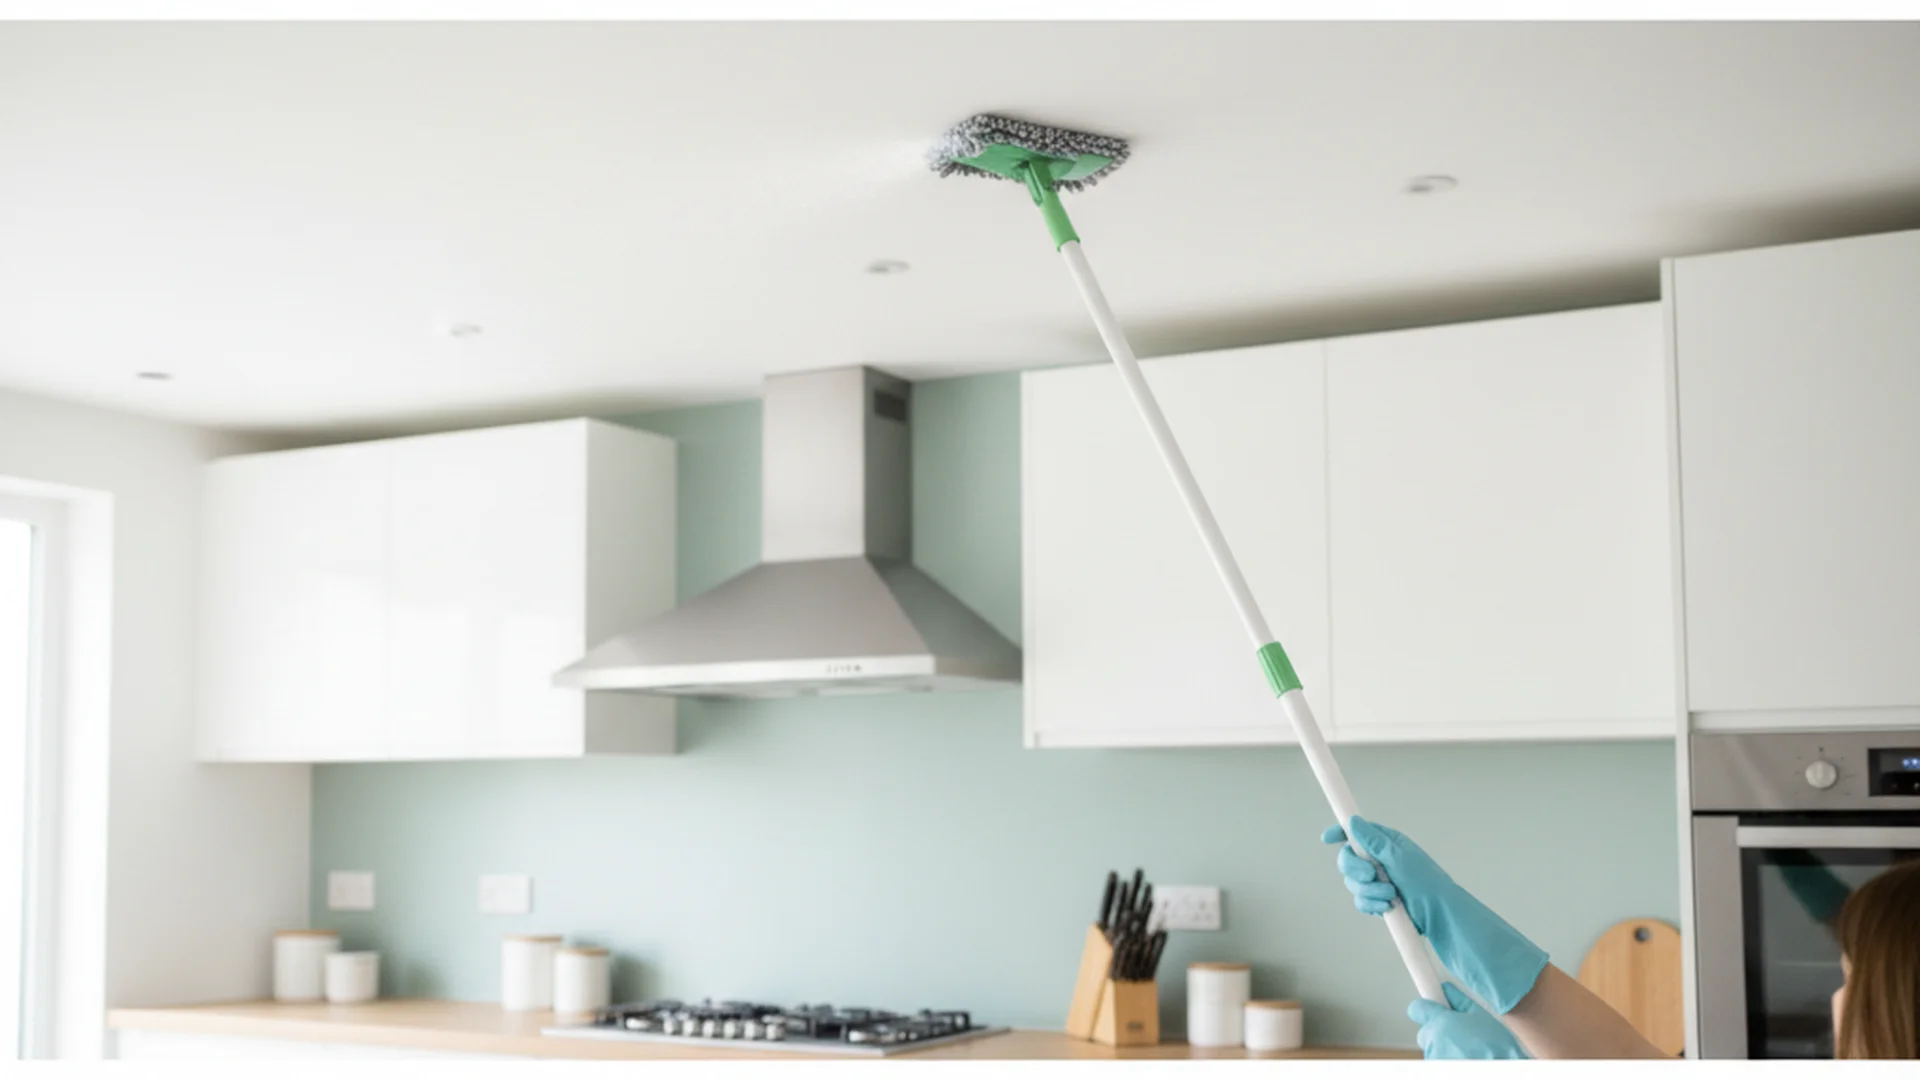
The secret to a streak-free finish is working in small, manageable sections (roughly 3x3 feet). Use a telescoping microfiber flat mop rather than a traditional sponge mop.
- Spray the Mop, Not the Ceiling: Lightly mist your microfiber pad with a cleaning solution.
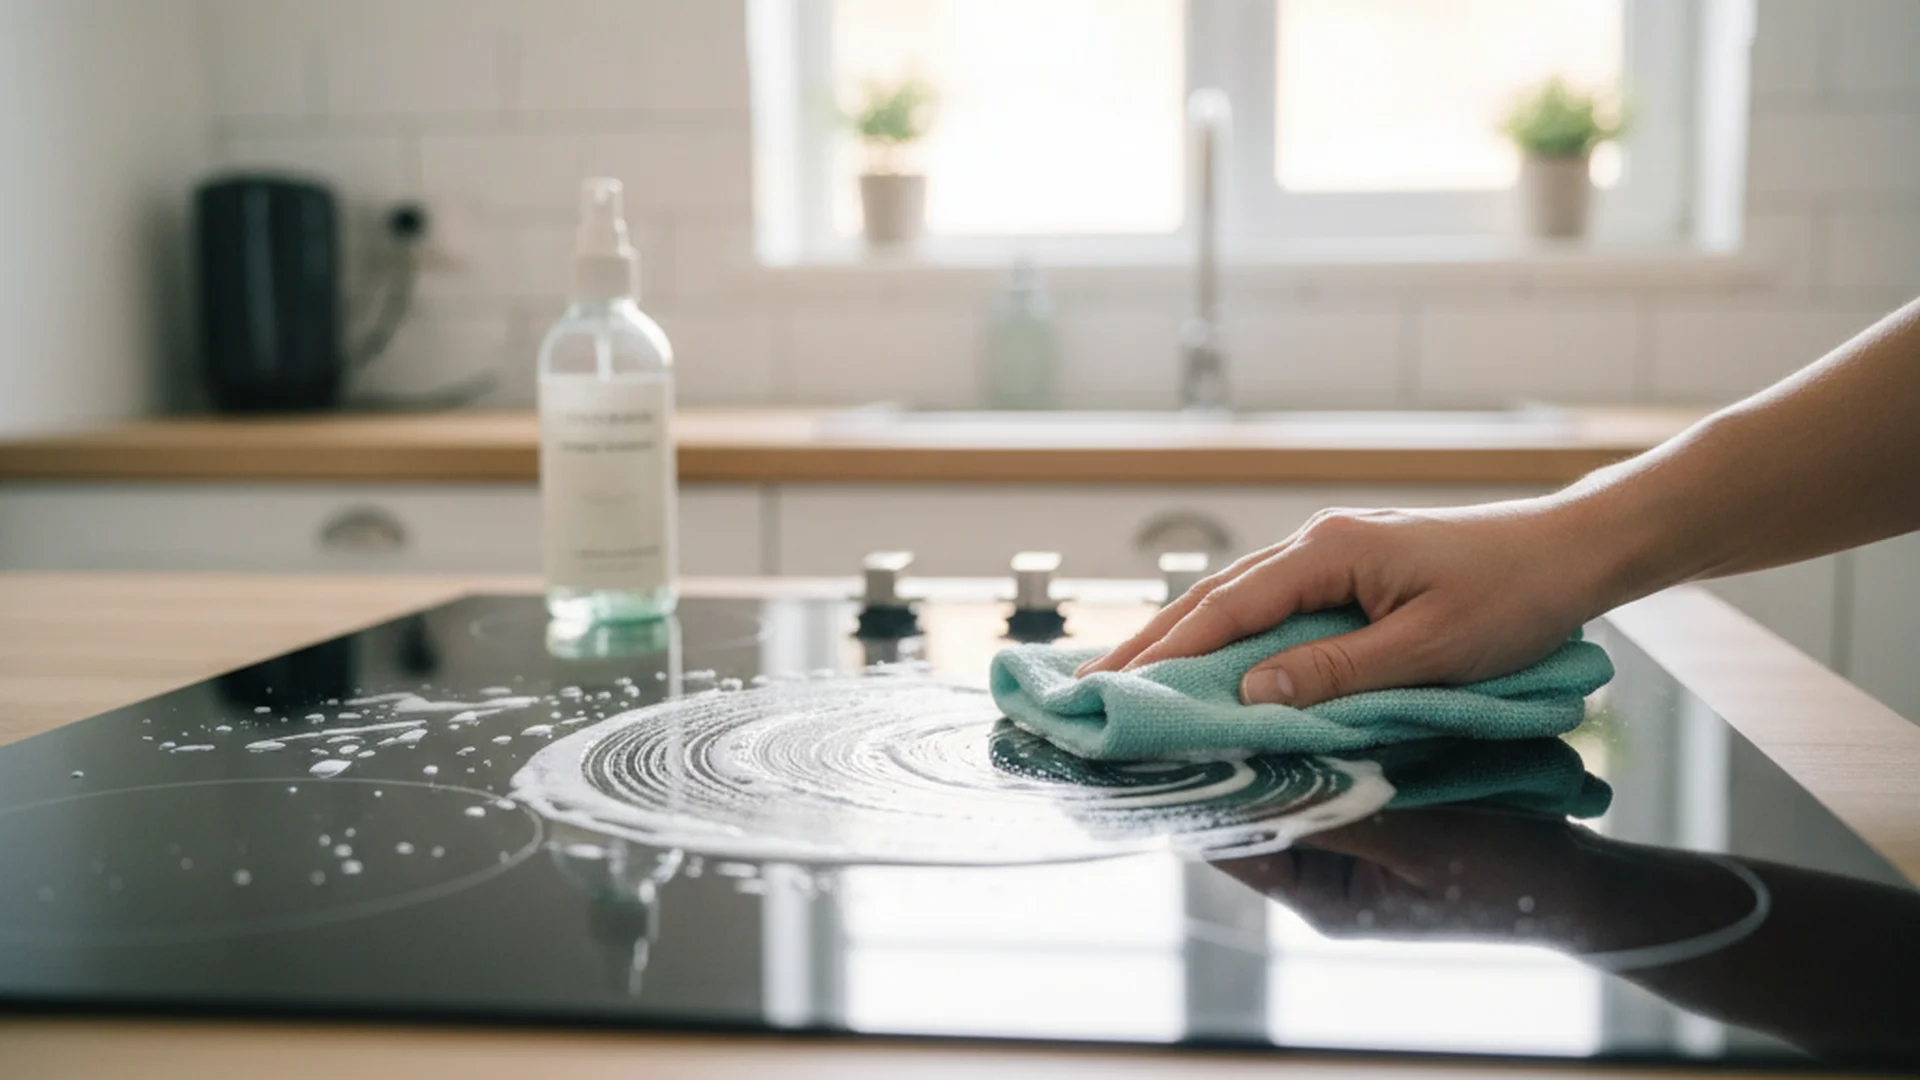
- Circular Motions: Wipe in circular motions to break up the grease bond without leaving "tide marks" or streaks.
- The "Clear Water" Rinse: Once a section is clean, do a quick pass with a fresh pad dampened only with water to remove any soap residue.
Top Cleaning Solutions for 2025–2026
Choosing the right cleaner depends on your ceiling's condition and your environmental preferences.
| Cleaner Type | Best For | Pros | Cons |
|---|---|---|---|
| DIY Vinegar Mix | Light maintenance | Non-toxic, very cheap | Strong odor, lacks "degreasing power" for heavy oil |
| Enzyme Cleaners | Heavy grease | Breaks down animal fats naturally | Can be more expensive than soap |
| Probiotic Cleaners | Long-term protection | Stays active for 72 hours to "eat" grease | Harder to find in standard grocery stores |
| Baking Soda Paste | Targeted stains | Excellent for yellowing | Requires manual scrubbing/dabbing |
The Rise of Probiotic Cleaning
A major trend for 2026 is the use of probiotic surface cleaners. Unlike traditional degreasers that stop working the moment they dry, probiotic cleaners contain "good" bacteria. These microscopic workers stay active on your ceiling for up to three days, continuing to consume microscopic grease particles long after you’ve put the mop away.
Specialized Care for Different Ceiling Types
Not all ceilings are created equal. Using the wrong technique on a specific material can lead to permanent damage.
Flat or Painted Ceilings
Most modern kitchens feature flat, painted plasterboard. If your paint has a "gloss" or "semi-gloss" finish, you can afford to be a bit more vigorous. However, "flat" or "matte" paints are more porous and can absorb water easily.
- Method: Use the microfiber flat mop method described above.
Textured or "Popcorn" Ceilings
These are the most difficult to clean and require a gentle touch.
- Warning: Never scrub a textured ceiling. You risk knocking off the texture or, in homes built before 1990, releasing asbestos fibers.
- Method: Use a vacuum with a soft brush attachment for dust. For stains, use a thick-nap paint roller lightly dampened with a cleaning solution. Roll it over the surface once and let it air dry.
High-Gloss or Tiled Ceilings
Common in older or industrial-style kitchens, these can handle steam.
- Method: A handheld steam cleaner is effective here, but ensure you wipe away the condensation immediately to prevent streaks.
Real-World Examples: Efficiency in Action
Example 1: The "Frequent Fryer"
- The Scenario: A homeowner who cooks with a wok and oil daily.
- The Solution: They require a deep clean every 2 months using an enzyme-based degreaser. They also benefit from the 2026 trend of cabinetry that goes all the way to the ceiling, which prevents grease from settling in the "gap" above the cupboards.
Example 2: The Gas-to-Induction Convert
- The Scenario: A family that recently switched to induction cooking.
- The Solution: They noticed their ceiling grime shifted from sticky yellow grease to light grey dust. They now only need to "dry clean" with a HEPA vacuum every 4 months, with a damp wipe only once a year.
Example 3: The Historic Plaster Ceiling
- The Scenario: A 1920s home with original, porous plaster.
- The Solution: Because the material is highly sensitive to moisture, the owner uses the "mist-and-dab" technique with a probiotic cleaner to prevent saturating the plaster and causing cracks.
Common Mistakes to Avoid
- The "Dunk-and-Slap" Mop Method: Using a dripping wet mop causes water to seep into the plaster, leading to "bubbles" in the paint and potential mold growth.
- Skipping the Rinse: If you use a heavy degreaser and don't perform a clear water wipe, you leave a sticky chemical residue. This residue actually acts as a magnet for more dust, making your ceiling dirtier faster.
- Cleaning the Ceiling Last: Always clean the ceiling first. Gravity ensures that dust and cleaning solution will fall; cleaning the ceiling after your counters and floors will simply double your workload.
- Neglecting Eye Protection: Falling grease particles and cleaning mist are irritants. Always wear protective eyewear when working above your head.
Frequently Asked Questions
Can I use a mop to clean the ceiling?
What is the best DIY degreaser for a ceiling?
How often should I clean my kitchen ceiling?
Should I clean the ceiling or floor first?
Conclusion: A Safer, Cleaner Kitchen
Mastering how to clean kitchen ceiling surfaces is one of the most effective ways to maintain a healthy home. By following the "Dry-to-Wet" method and utilizing modern solutions like enzyme or probiotic cleaners, you can remove years of buildup and reduce fire hazards effectively. Remember to prioritize safety by using extension poles and eye protection, and always check your ceiling material before choosing a solution.
Ready to Start?
Keep your kitchen in top shape with our professional guides.
View More Cleaning Tips